


Dagger:
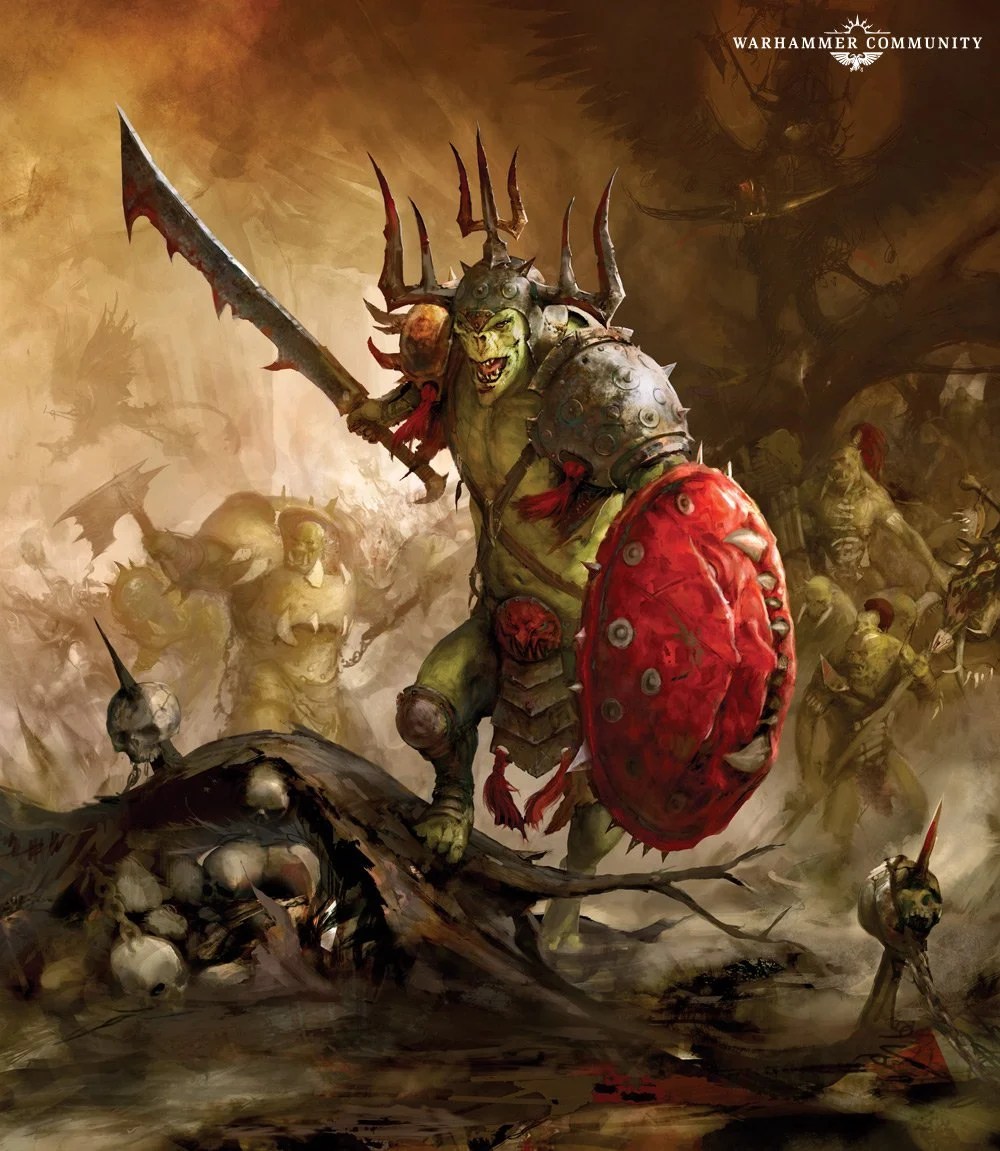
Gutlord
Gutrippa with Wicked Stikka
Stabgrot
Shield:
Gutrippa Boss with Wicked Stikka
Stabgrot
Hammer:
Gutlord
Shank
Gutrippa with Wicked Stikka
Tips, Tricks & Tactics
Battle pair formation: Try to position your stabgrot in base to base contact with Gutlord whenever possible. The combination of base sizes of both fighters and the 3″ range of kruleboys reaction makes it impossible to finish movement within 1″ of Gutlord or Stabgrot without entering area covered by both “trigger range” of kruleboyz reaction and atack range of Gutlord. This area extends to almost everywhere in 2″ range around Gutlord. As this formation is limiting the movement of Gutlord and forces him to move around little stabgrot in some cases it’s a good idea to consider future directions where Gutlord may want to move and position the goblin to intefere as little as possible (i most cases its best to position stabgrot on the side closest to battlefield edge). The obvious goal of this formation is to transfer Stabgrot actions to Gutlord attacks. This plan may require using a lot of “wait” actions and in some cases using both activations of gutlord for wait actions to be effective, so in case you are outnumbered by a lot or opponent has access to range damage I suggest not to rely on this plan too heavily

Dagger block: Both Supremacy and Tides of Battle present an option to prepare a trap for enemy battlegroup that will appear in second round in the bottom-right corner of the battlefield. The combination of the facts that Rumble Pack warbands consist of many chaff models, Gutlord very high damage and ability to get additional attack on kill with only a double make it a great idea to spend first turn of the game on positioning your Gutlord on the edge of bottom right objective as close to battlefield edge as possible (use +3″ move double to get there) so all the fighters that will be deployed there will be in Gutlord’s 2″ range from the start. With the help of Bonus attack action on kill from your other double you can expect to kill 2 or 3 models there (ideally in first activation). In case you are playing Early Grave and the opponent has slow leader that will appear in the trap you can add stabgrot behind the Gutlord to make it impossible to leave the trap without triggering kruleboyz reaction.


Spoils of War: The following strategy is risky, requires two doubles, almost no enemy shooting and less than 5 fighters in opposing Hammer (which is quite common), but gives the possibility to punish 3″ move spam warbands with non ideal deployment (which are also common). In case your opponent generally lacks the option to reach “your” objectives with many fighters you can try to exploit it with a 2 step plan: First move your Gutlord with +3″ move double into enemy objective and try to kill chaff model. You must engage stronger fighters with mobility in the process so they won’t kill your stabgrot in response. If you managed to kill enemy fighter, didn’t lose anyone in your opponent activation and the next move is doable proceed with second step: move your Shank onto objective with Gutlord using double move action while also trying to net enemy fighter outside of the objective. If you manage to do so then no matter what your opponent will do, if all of your guys will survive this round you will get an early lead (ideally remaining enemy activations can’t threaten your objectives and you add your spear to enemy objective). The plan isn’t perfect, requires some luck and precise positioning but in proper situation can lead to advantage and in most cases burning objective on your opponent side round 2 equals victory

