
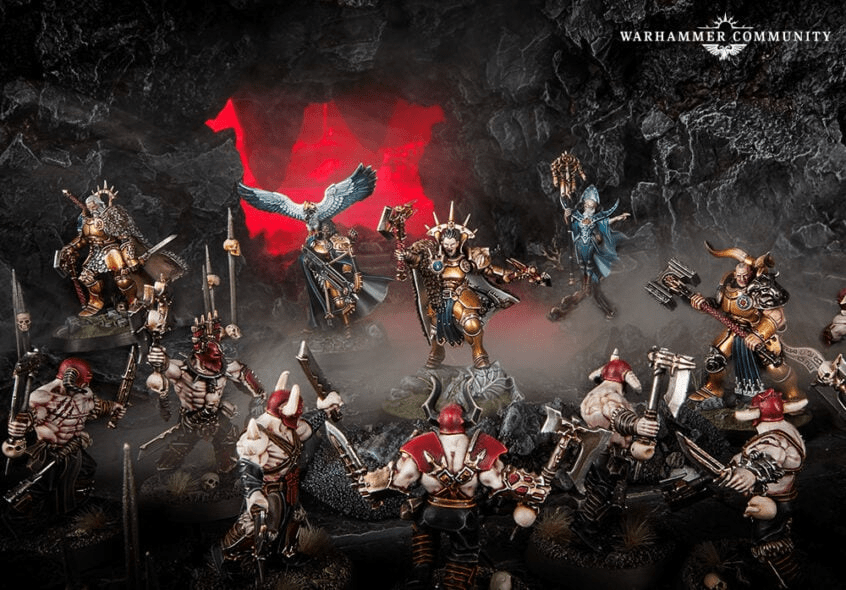
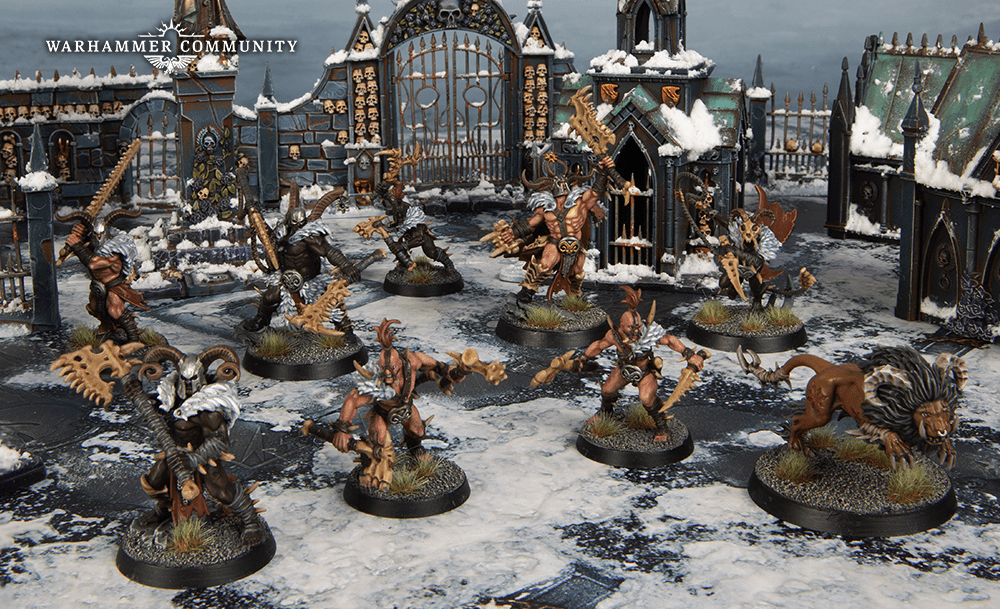
Treasure missions are in essence few simultaneous races with player winning most of the races winning the game. Every treasure is a separate race where both players are racing to pick it up first, then in case opponent has it, engage the treasure carrier before it escapes and then either kill the treasure carrier to steal it or try to escape danger with your treasures. Naturally in a race moving before your opponent is a great advantage and that’s why in this type of mission both Initiative and Inspiring Presence universal ability will have way higher impact than in for example objective based battleplan. Tactics listed below will help you get ahead in certain steps of this race. To organize my thoughts better I will split this tactics into 3 categories: Inspiring Presence tactics, ability based tactics (that by nature will be faction specific) and non-ability based tactics that will be quite universal.
Some of the tactics below might not work in every battleplan or work even better in others as since GW introduced Loot and Pillage (great mission from Rumble Pack) some battleplans have core rules altered with either requirement to spend actions to pick up or “loot” the treasure or additional rule preventing fighters from spending action to drop the treasure, so as always keep the mission in mind while analyzing anything game related.
Inspiring Presence tactics

“2 for 1” – The most obvious and one of the strongest plays you can do (especially after winning initiative in a game with even number of objectives) is activating 2 fighters that will pick up objectives in a row. When done as first activation it might force opponent to also use inspiring presence to net get behind with the numbers of objectives in control. Always keep this play in mind and try to prevent your opponent from doing this by strategically deciding which treasures you will pick up (for example your opponent might only do “2 for 1” from one deployment group and you can mess this up by reaching one of 2 objectives that are in range of mentioned deployment group). This shouldn’t be the main factor when deciding which treasures you go for, but keeping this in mind will lead to more early advantages in treasure battleplans. Obviously instead of picking up treasures you can use any other tactics instead and thanks to Inspiring Presence do them in sequence when you benefit from it greatly.
Poor man’s bonus action steal – Sometimes (especially when facing hordes) killing a treasure carrier in first action can’t be followed by picking up treasure because activated fighter is still engaged, in such situations if activated fighter is a hero you can use Inspiring Presence to pick that treasure with another fighter.
Pass the treasure – If the treasure is carried by a hero you can use Inspiring Presence and spend an action to drop the treasure, just to pick it up in the next activation of your another fighter. This play alone makes single treasure missions very frustrating (killing most of Fomo Crusher just to have the only treasure passed to Varanguard is pure NPE).
Ability based tactics
Disengage with treasure – If your treasure carrier has access to bonus move or disengage action (example factions: Seraphon, Skaven and SBGL) it can spend action to drop the treasure and then disengage “over” that treasure for around 2″ and move again picking up the treasure using ability to perform one of this last 2 actions. When done by a fast fighter (like for example a Stormvermin) you can avoid being hit by slower fighters (for as long as you have initiative), as they will require both actions just to catch up again.
Bonus action steal – In a situation described in “poor man’s bonus action steal”, having to spend one action on killing the treasure carrier might not be enough to then pick it up in the next action and this is where one extra action required to do it might be “outsourced” to an ability. To make it work you must have access to either bonus move, attack, disengage or damage based ability (that will work as replacement for attack action). A lot of factions could do it, for example Ironjawz, thanks to their Charge, OBR because of bonus move on Stalkers and Morghasts or SCE: Warrior Chamber thanks to their bonus attack on double. A lot of heroes also can get a bonus action after a kill, so almost every faction in the game can perform this.
Cheap pass the treasure/”2 for 1″ – Some factions or Underworlds warbands (like for example Grinkrak’s Looncourt or Claws of Karanak) have access to Inspiring Presence like ability on a double. Keep advantage of it as Inspiring Presence tactics are one of the best tools you have in treasure missions.
Teleport the treasure – The most obvious tactic with the title saying everything there is to say. Teleporting the treasure away from danger is never a bad play. Always keep teleport abilities in mind. Not many factions can do it, Sylvaneth and Nighthaunt are the most popular ones utilizing this “trick”.
Net the threat – Keeping your treasures safe is one of the most important objectives of a good plan. Immobilizing the biggest threat for your treasures or preventing the fighter you can’t kill from picking up the treasure might be a game winning play. Net abilities are very strong and treasure missions are not an exception here. Beware the high percentage ones from Daughters of Khaine or Kruleboyz and the guaranteed one from Splintered Fang.

Non-ability based tactics
Double Engage – I already mentioned twice that having a threat for a treasure carrier engaged with additional fighter require using abilities to steal that treasure in single activation, so whenever possible double or even triple engage threats for your treasures and approach opposing treasures in a way that let’s you avoid such trap. The reaction that all Chaos and Death Thralls have is a great way of forcing double engage during your opponent activation, making it almost unavoidable.
Treasure Gambit – Sometimes the treasure carrier is too slow to escape the big guy chasing it and in such situations it might be better to “sacrifice” a chaff fighter and move it directly into the big threat with the intention of postponing the moment when it can finally reach/attack your treasure (work best on fighters without bonus actions on kill). This tactic can punish big fighters with 2″ and 3″ reach attacks that do not position within 1″ of their intended target, as you always must target fighters within 1″ before you can aim at more distant targets. To not have it done against you – always position your big guys within 1″ of their target, otherwise you might be forced to waste some attacks on unintended targets.
Encirclement – To make already mentioned “double engage” harder for your opponent try to position your fighters approaching the same target in a way that will force your opponent to use as much fighters as possible to “double engage” all of your fighters. Keeping a lot of space between your offensive fighters is a good rule of thumb in treasure missions.
Activation advantage pass – If you can activate twice after your opponent is done with all activations around one of your treasures (local activation advantage) you can simply drop the treasure in first activation and pick it up with other fighter in second activation. Making sure you circle you treasures from your heavily wounded fighters to healthy ones is very important when playing horde warbands. Keeping control over treasures is more important than saving some ability dice, so waiting for the end of the turn with the treasure passing might not be the best plan for every situation.
Wild dice usage around inspiring presence in first round – Sometimes when your opponent is starting with a triple it might be better idea to spend the wild dice on initiative, instead of trying to match his Inspiring Presence, as grabbing one of objectives first might disarm the “2 for 1” attempt of your opponent. Even if you can’t do that, sometimes the situation around who has advantage over which objective is quite clear and improving your odds in area where you are evenly matched might be better than charging into 2 lost fights instead.
Tactical action drop – In some cases rolling unexpectedly well might be more problematic for you, than your opponent. If you double engage opposing treasure and want to weaken the treasure carrier with one fighter expecting the second fighter to finish the job and pick up the treasure. If first fighter unexpectedly roll few sixes in first attack action it might be better idea to finish activation with wait instead of risking killing that fighter in second action, which can result in your opponent picking up this treasure again with a fresh and healthy model. Of course its only the case when the first of your fighters lacks tools to pick up the treasure after killing treasure carrier in his second action.
As always thanks for sticking to the end. I hope this will bring some value even for more experienced players. If I missed some interesting tactic let me know.
